THE HUNGRY BUNNY DOWNLOAD AND TUTORIAL
The Hungry Bunny Download and Tutorial
Source: http://www.lilblueboo.com/2013/03/the-hungry-bunny-download-and-tutorial.html
March 13, 2013 By 25 Comments
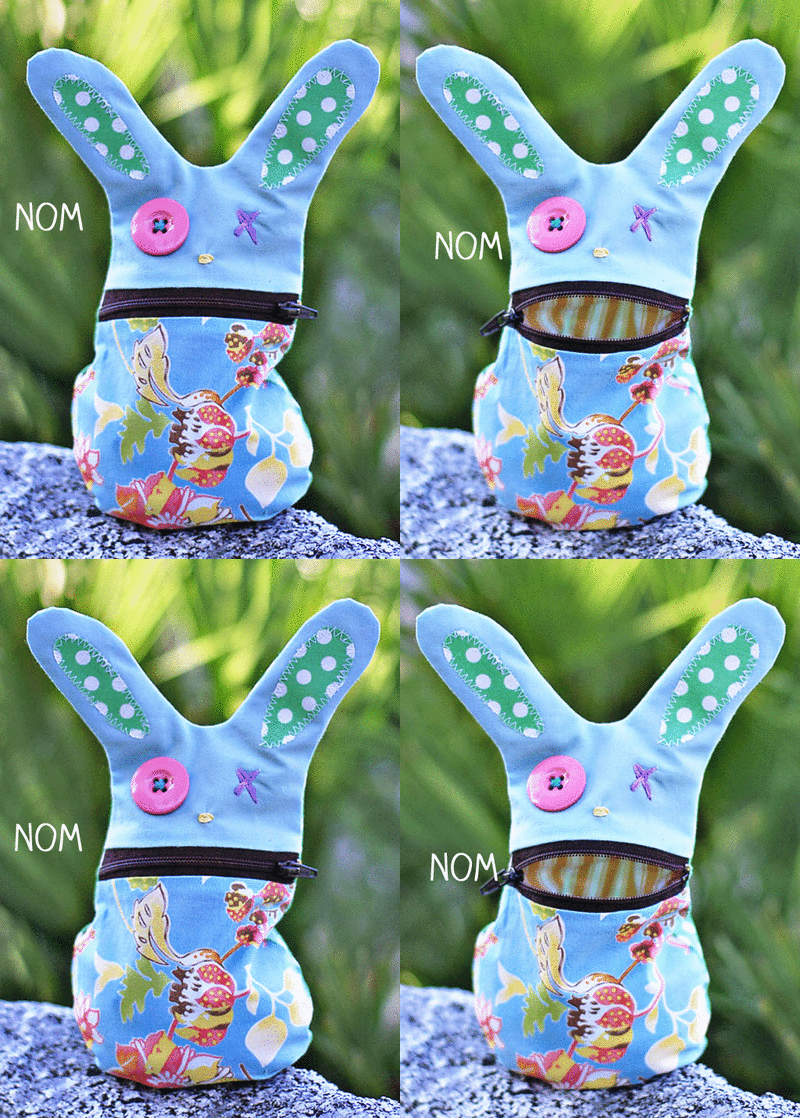
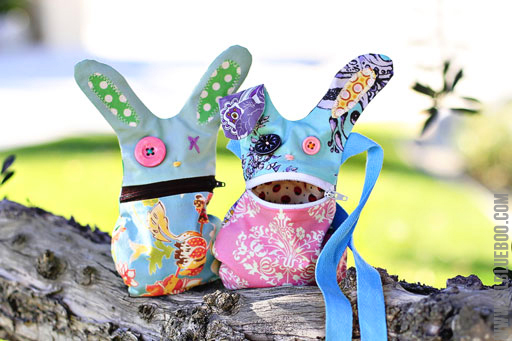
Last year was the Sock Bunny…..this year is the Hungry Bunny! Isn’t he cute?
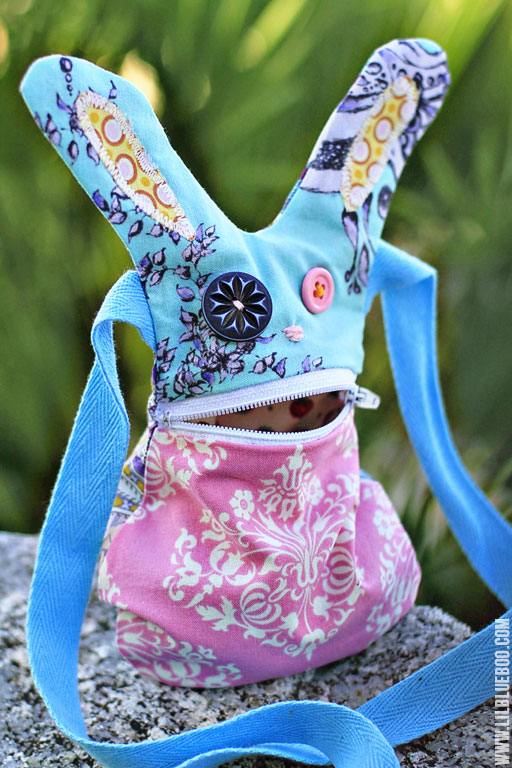
I made one as just a little sack to put little treasures in and the other as a purse for Boo:
How to make your own:
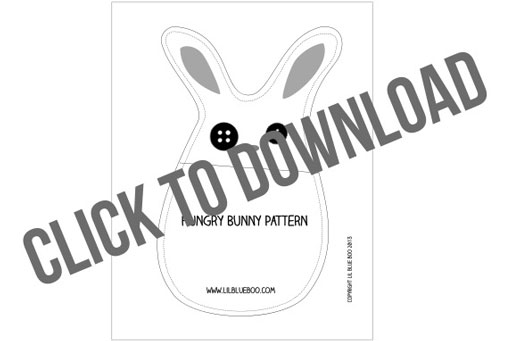
1. Print off the pattern at the bottom of this post. You’ll need some fabric scraps and any size zipper. Cut 2 sets of 2 using the pattern and cutting the fabric right sides together. You’ll have 2 pieces for the lining and 2 for the outer bunny.
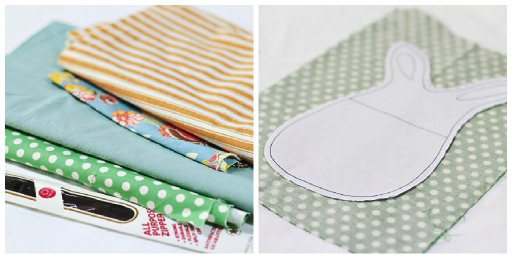
2. Take one piece of the lining, and one outer bunny and make sure they match up when placed right sides together (i.e. they should be opposite). Cut using the “mouth” line on the pattern. You can also use the “mouth” line to create mismatched bunnies.
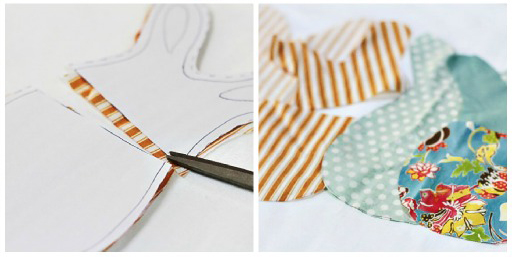
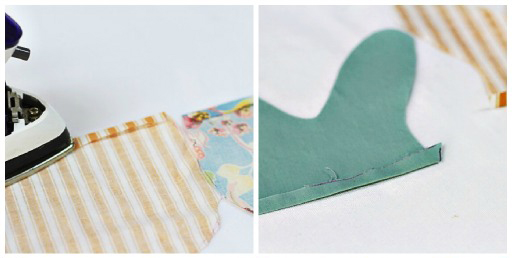
3. For all 4 “half” pieces, fold down the sides shown in the photo below 1/4″ (so wrong sides are together) and iron flat:
4. Place one of the full bunny pieces right side up and use it as a guide for your zipper placement. Place the two outer bunny pieces on top of the zipper as shown:
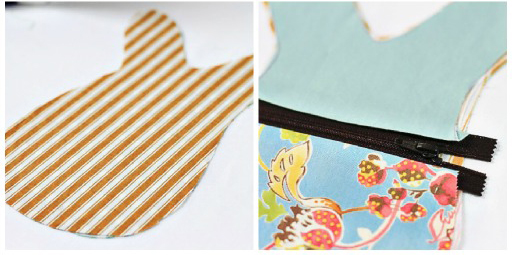
5. Stick a pin in the top pieces to keep the pieces still. Carefully lift up the pieces so that you can pin them from underneath to the zipper.
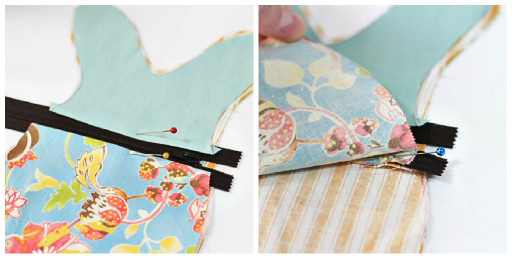
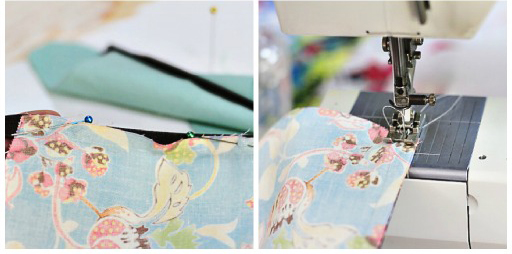
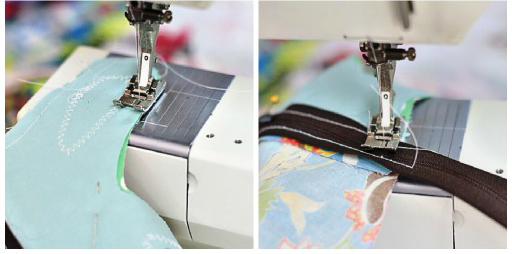
6. Unzip the zipper and sew each piece on the folded seam line to the zipper:
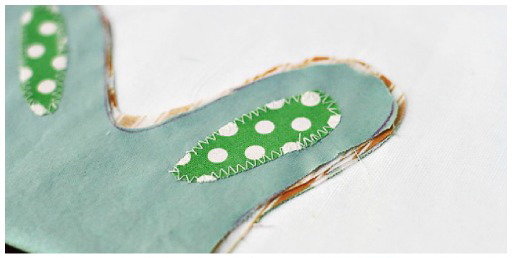
7. Now’s a good time to attach some ears to the top using fusible web or zigzag stitching:
8. Place your outer bunny back right side up, place the front pieces with the zipper face down on top. Pin carefully in place. Unzip the zipper slightly.
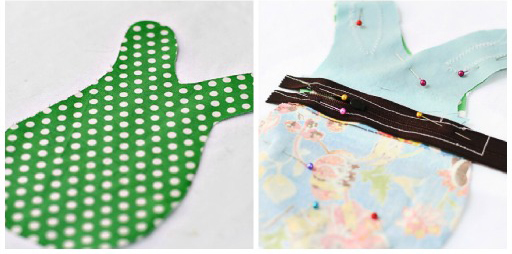
9. Sew all the way around the bunny using a 1/4″ seam….carefully sewing over the zipper as you make your way around on either side:
10. Notch all your corners and trim the excess zipper:
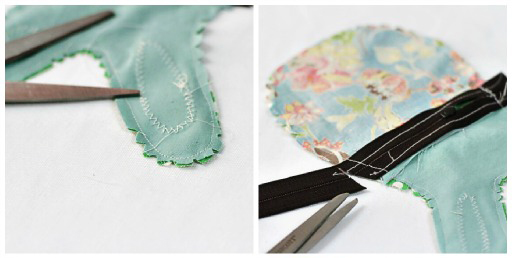
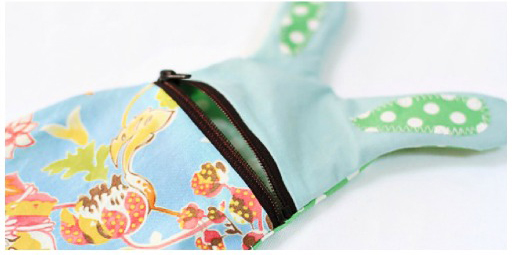
11. Carefully turn the bunny right side out:
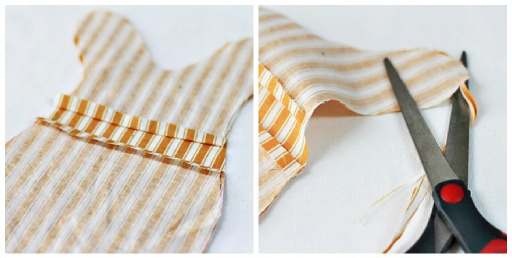
12. Place all your “lining” pieces together as shown below. Sew all the way around to attached the pieces using just OVER 1.4″ seam. Trim all excess edges:
12. Insert the lining into the outer bunny. Use a pencil or stick to get the ears up into the outer ears:
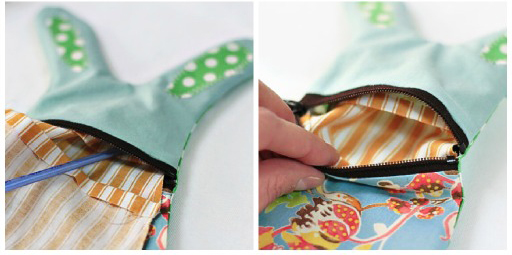
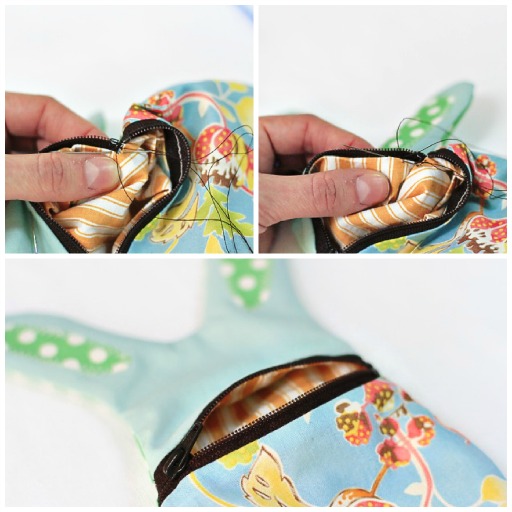
13. Using thread that matches the zipper, turn the sides of the lining under and tack them in place to the inside of the bunny. Using a slip stitch or hidden stitch attach the lining to the inside of the zipper:
14. I always leave the face until last because each bunny has its own personality! Add buttons for eyes:
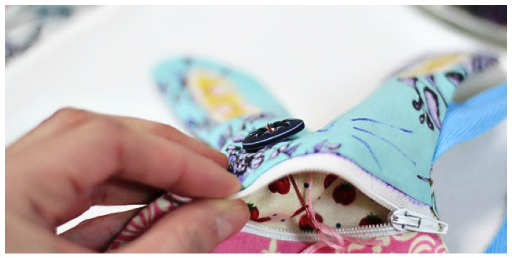
And carefully stitch a nose:
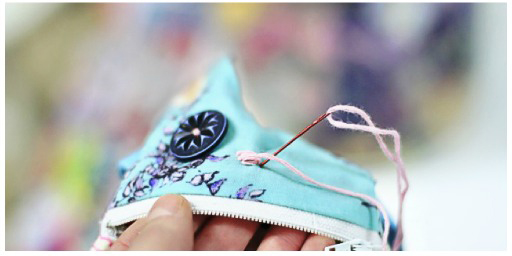
A finished bunny!
Add some webbing or cord before you sew the outer bunny together to make it a handbag or purse:
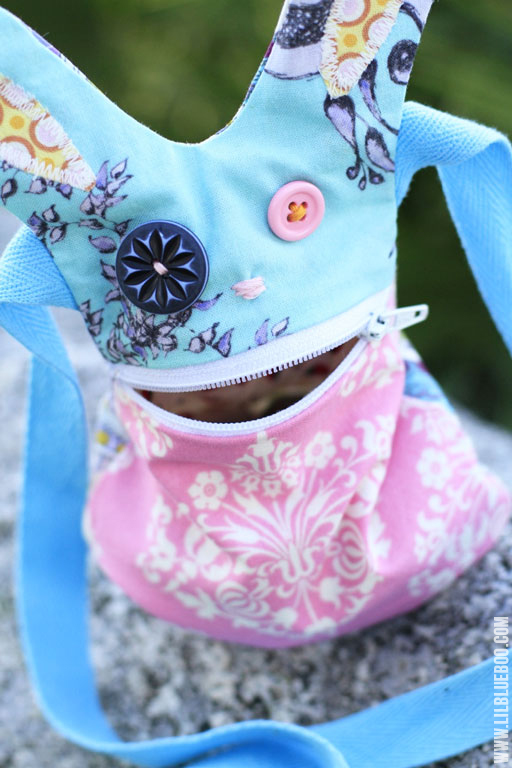
Such a cute face:
Here is the pattern download….you can enlarge it as well:
A great addition to an Easter basket!
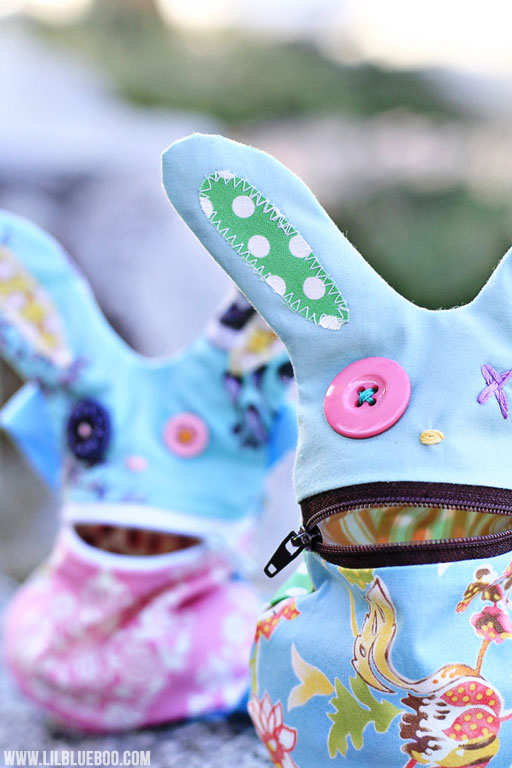
They look like they are chatting:
Fill the bunny with coins or treats:
Add pipe cleaners into the ears to make them bendable!
Click the image below to see last year’s Easter basket goodie!








0 nhận xét: